A Brief Introduction
to Visual Studio 2005
Visual Studio 2005 (VS 2005) is an integrated IDE enabling development of C++, C#, and Visual Basic and J #applications under one roof. It includes numerous features that help in building windows applications with less effort. The IDE is designed primarily for building applications with any .NET languages. The IDE includes features like an automatic build utility, a syntax highlighter, an easy-to-use debugger and many more. This guide introduces building a C# application using VS.Net 2005 by a simple hands-on example. First, let's start our VS.Net 2005 IDE. The following screen shown in Figure 1 below will be displayed when the IDE is started.

Figure 1. Initial Screen
Let's build a simple Hello World application. Click 'File > New > Project' from the menu bar. The following dialog box will appear.
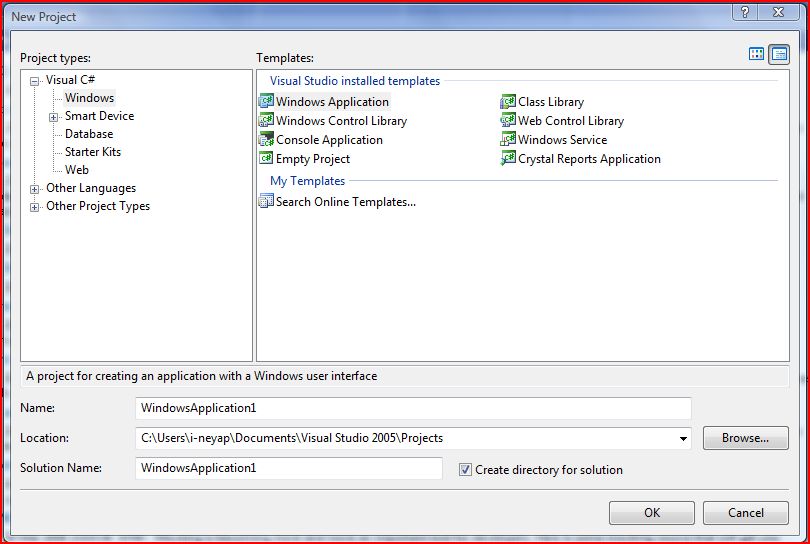
Figure 2. New Project Dialog
For this course, projects must be implemented as a C# application. To start building a C# Console Application follow the following steps. On the category column on the left select 'Visual C# > Windows'. Next, choose 'Console Application' and type 'IntroApp' as your project name. Also, choose a location to save your application. The above steps are illustrated by Figure 3 below.
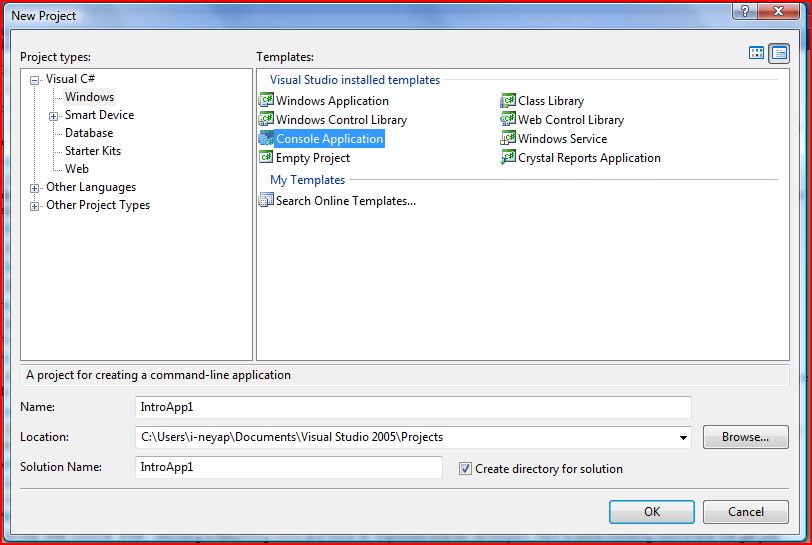
Figure 3. New C# Console Project
Click 'OK'. Another dialog will appear. One can specify additional settings through this dialog, however for this simple application simply accept the default settings by clicking 'Finish'. The following will be shown in your VS 2005 IDE after performing the above steps.
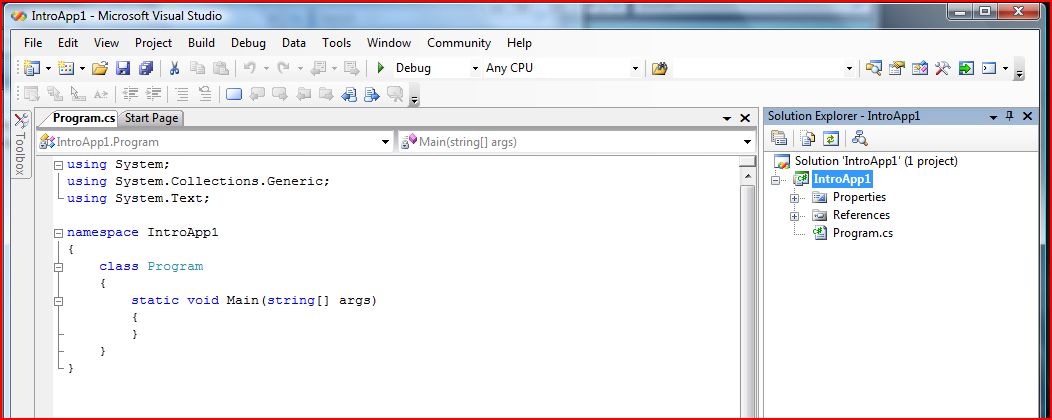
Figure 4. IntroApp Project
An application developed in VS.Net 2005 is organized into a hierarchy: solution, project and files. A solution contains one or more project(s); a project contains one or more file(s). Most files are either source files (.cs) or other reference files. Double-click the main source file of our IntroApp project (i.e. Program.cs) in the Solution Explorer to view its content in the Code Editing window. Enter the following C# codes as shown in Figure 5 below.
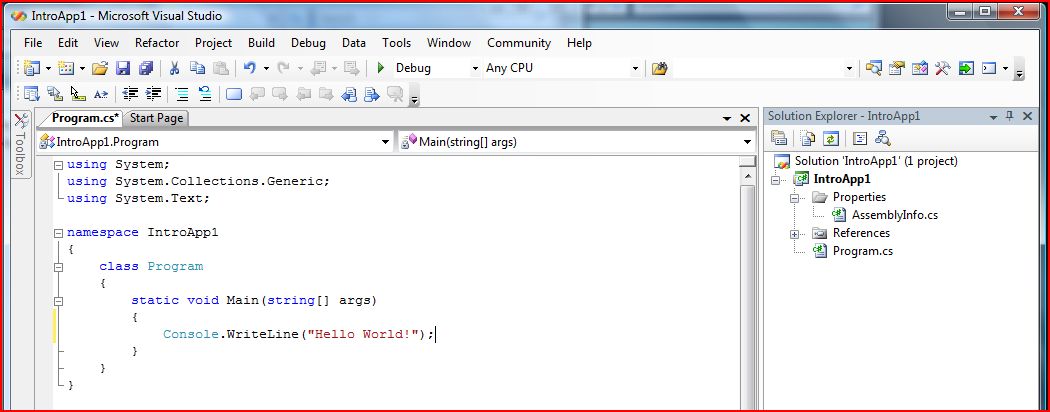
Figure 5. A Simple Hello World Application
To build the application press F6, alternatively click the Build Solution (![]() ) toolbar. To run the application press F5,
alternatively click the Start toolbar (
) toolbar. To run the application press F5,
alternatively click the Start toolbar (![]() ). When the
application is run, the following console will appear.
). When the
application is run, the following console will appear.
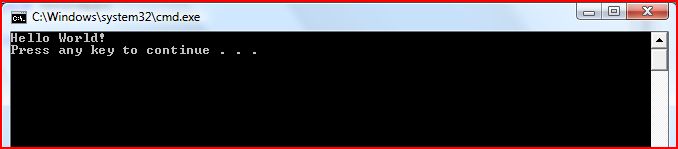
Figure 6. Running Hello World
Voila! You've got a C# application running. The executable of your application is saved by default to the '$ProjectDir$/Debug' folder.
To add files to your project, right click the Project folder in the Project window as shown below. Select 'New Item' and proceed accordingly.
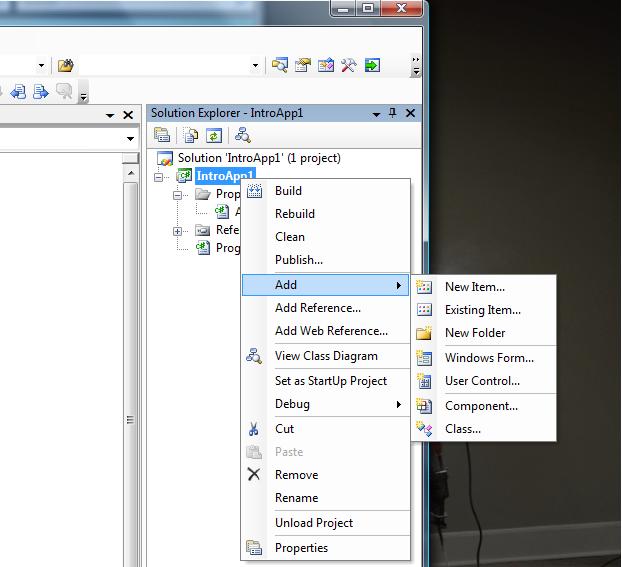
Figure 7. Add Existing File
Now let's see how debugging is performed using VS 2005 IDE. Click at the margin besides the ‘Console.WriteLine(“Hello World!”);' line in the Code Editing window. A red bullet will be shown at the margin -- this bullet signifies a breakpoint.
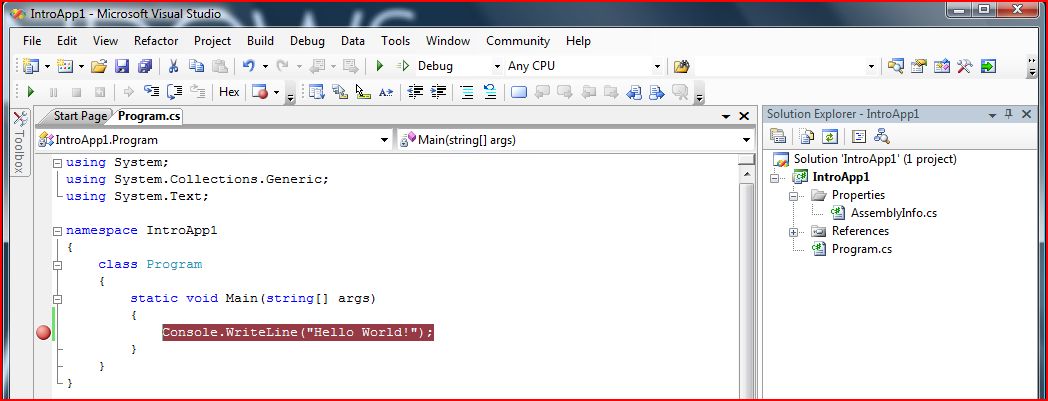
Figure 8. Insert Breakpoint
Press F5 or click the Start (![]() ) toolbar. The
program will run and stop at the breakpoint we have just set. Note the Locals
window at the bottom of the IDE. The window provides information of the
accessible variables and their values at the breakpoint. At the breakpoint, we
have 1 active variables (args) which is a local variable and parameters to the
main function.
) toolbar. The
program will run and stop at the breakpoint we have just set. Note the Locals
window at the bottom of the IDE. The window provides information of the
accessible variables and their values at the breakpoint. At the breakpoint, we
have 1 active variables (args) which is a local variable and parameters to the
main function.
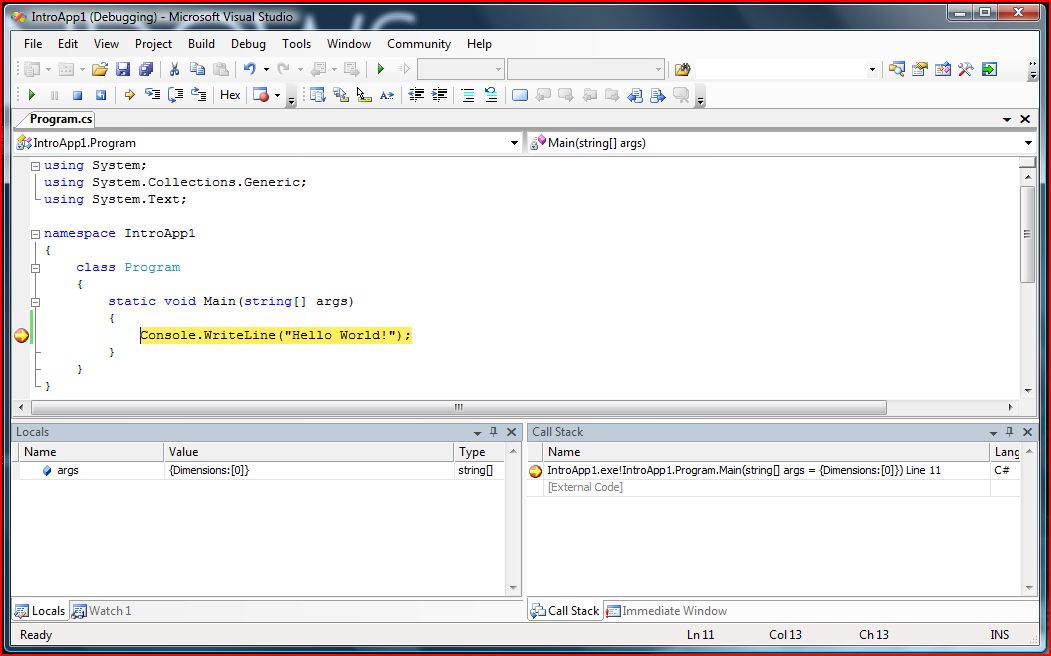
Figure 9. Debugging In Process
To continue, press F10 or alternatively click the Step Over (![]() ) toolbar to step over to the next statement
(end of program). To continue to the next breakpoint or to the end of the
program press F5 or alternatively click the Start (
) toolbar to step over to the next statement
(end of program). To continue to the next breakpoint or to the end of the
program press F5 or alternatively click the Start (![]() ))
toolbar again.
))
toolbar again.
For more information on VS.Net 2005 and debugging in general visit :
· http://visualstudiotips.wordpress.com/tag/coding-debugging/
· http://www.cs.uvm.edu/~upe/resources/debugging/visualCDebug/
· MSDN
There are two modes of compilation in VS 2005 namely 'Debug' and 'Release'. Debug mode let you insert breakpoints and debug your code. Release mode optimize your code but doesn't allow debugging. When your program is fully debugged, to let it run faster, compile it using the Release mode. One can switch to release mode by selecting 'Release' from the combo box at the top of the IDE as shown in Figure 10 below.
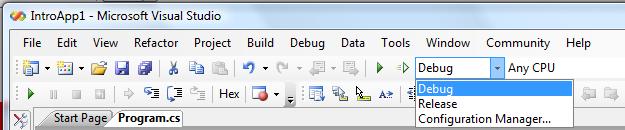
Figure 10. Switching Compilation Mode
For the final evaluation, you are required to compile your application in Release mode. Due to poor programming practices, it is possible that your application runs well when compiled under Debug mode but not under Release mode. Hence, during the various stages of your project ensure that your application runs well when compiled under both Debug and Release modes.
- For a list of advices on this issue see: