Use styles to achieve consistent formatting. One advantage is that you can
modify the style and all text under the control of that style will change
automatically.
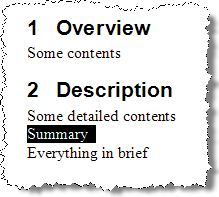
For example, if you want to format some text as a heading, select the text you
want the style to apply to.
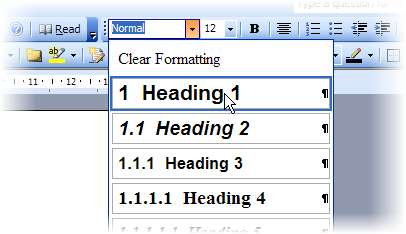
Then, select the style you want to apply, from the styles drop down box.
Here's the result:

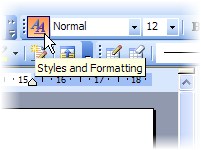
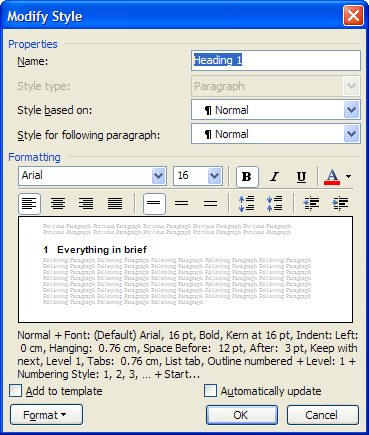
If you want to modify the result, open the "styles and formatting task pane" by clicking the button shown below.
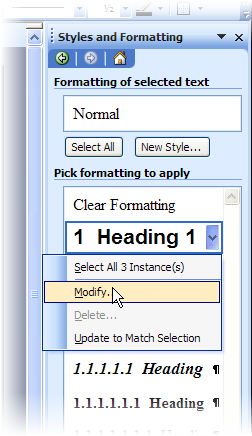
In the the "styles and formatting task pane", right-click the style you want to modify, and then click "Modify".
 .
.
Use the resulting dialog box to modify the style as you wish.
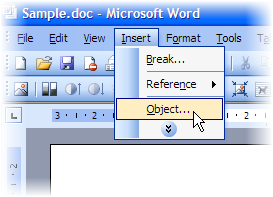
You can embed various "objects" in a word doc. I usually add diagrams into a document by using embedded PowerPoint slides. Here's how to do it:
Place the cursor at the place where you want to diagram, choose to insert an "object" ...
... and then choose "Microsoft PowerPoint slide"
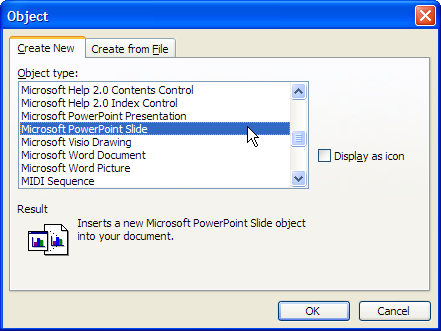
Clicking "OK" will insert a blank slide into the document. Right-click on the slide and choose to open it.
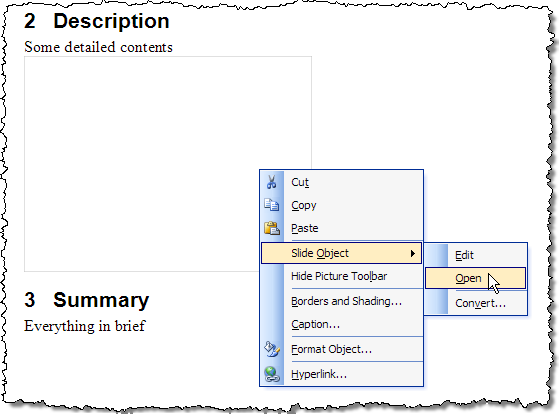
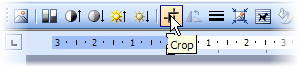
This should open the slide in PowerPoint. Now create the diagram using PowerPoint. When you close the PowerPoint window, the diagram you just created will appear in the document, as an embedded slide. You can crop the slide (use the "crop" button in the "picture tool bar") to the size you want. You can edit it any time by opening it in PowerPoint, using the menu shown above.
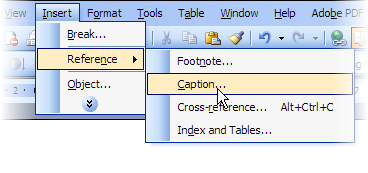
If you want to add a caption to a figure or a table, use the "insert caption" feature in MSWord.
Here's how we can add a caption to the diagram we created above. First, place the cursor in the right position. Then, choose this menu item.
Type the caption you want to appear in the document.
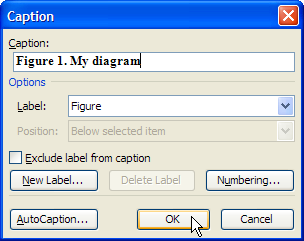
Here's the result:
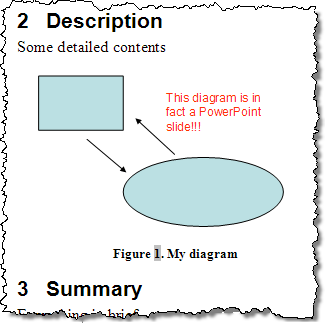
If you subsequently added another caption that appears before this caption in the document, just "select all" (Ctrl+A) and press F9, and all the Figure numbers will be updated automatically to reflect the order in which they appear (e.g., "Figure 1. My diagram" will now become "Figure 2. My diagram")
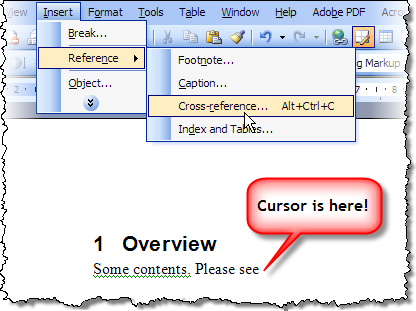
If you want to refer to another item (figure, table, heading, section, etc.) in the document, you can use cross references. For example, this is how you can add a cross reference to the Figure 1 we created above.
First put the cursor in the place where you want the cross reference to appear. Then choose this menu item.
Choose the item you want, and how you want it to appear, as shown in the below image.
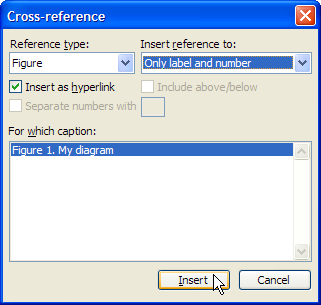
And this is the result. As usual, you can use Ctrl+A, followed by F9, to update all cross-references automatically.

You can copy the format of one text to another text using "format painter". First, put the cursor among the source text, and click the "format painter" button.
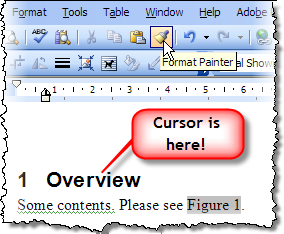
This turns your cursor into a small paint brush. Use that brush to paint over your destination text.
 ...
and here's the result:
...
and here's the result:
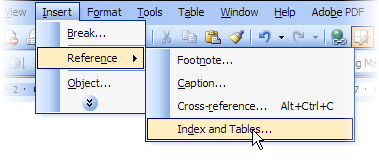
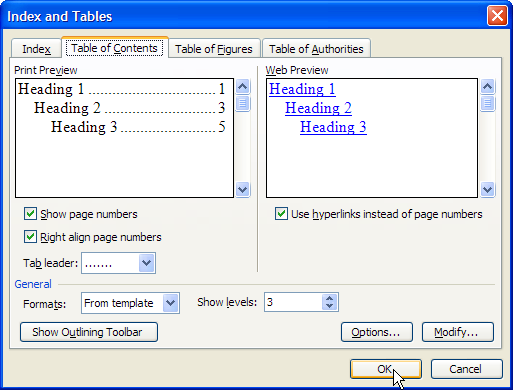
You can auto-generate various types of tables and indexes for your document. For example, follow these steps to generate a table of contents for your document :
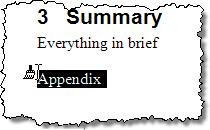
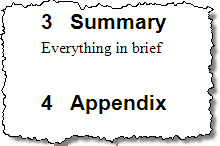
If you don't want a piece of text (or any other item) in a document to get separated and stranded at the bottom of a page like the "Here is an example" line below...
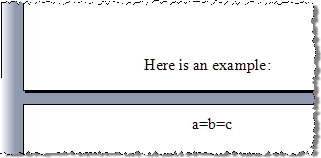
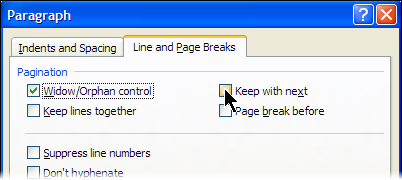
... right-click on the stranded line, Choose "Paragraph" in the context menu that appears. When the dialog box shown below appears, check the "keep with next" checkbox in the "Line and Page Breaks" tab. Now the first line will always appear in the same page as the second line.
When you want to give feedback on a document, you can use the features in the "reviewing toolbar". First, enable the "reviewer" toolbar (menu sequence: view -> toolbars -> reviewing) shown below.
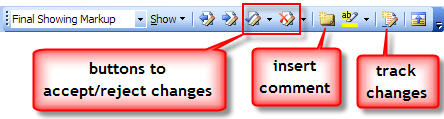
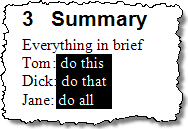
Use the comment buttons to add comments. If you enable the "track changes" button, any changes you do the documented will be clearly marked. Others can accept or reject your changes using the appropriate buttons in the toolbar. Reviewer toolbar also have options to control how the tracked changes appear in the document. Shown below is a document with comments and tracked changes.

-----------------------| http://damith.info |-----------------------