Release 8.1.7
Part Number A85257-01
|
Library |
Product |
Contents |
|
Oracle Objects for OLE Release 8.1.7 Part Number A85257-01 |
|
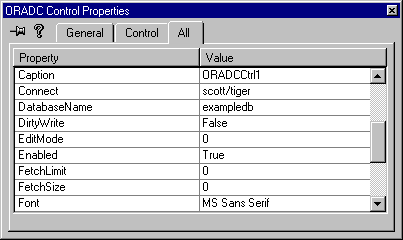
 Position the Oracle Data Control at the bottom of the dialog. With the data
control selected, press the right mouse button to display the pop-up menu. Select
properties from the menu.
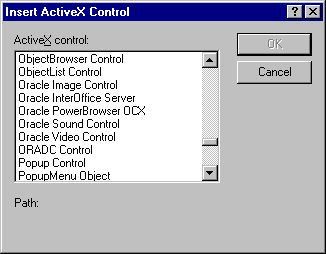
 16. With the dialog selected, press the right mouse button to display the pop-up
menu. Select Insert ActiveX control from the menu. Locate the DB Grid Control
and select OK.
17. Position the DB Grid Control at the top of the dialog and resize. Display the
properties for the control. In the All tab of the Properties window, set the DataSource property to the Oracle Data Control (IDC_ORADATACONTROL). Accept the defaults
for the other properties for now. These can be changed later.
18. Select Save All from the File Menu.
19. Build and Execute the project.
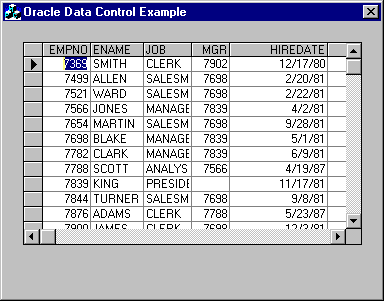
20. The DB Grid displays the records from the emp table as in the following illustration.

 Copyright copy; 1996-2000, Oracle Corporation. All Rights Reserved. |
|