For content-heavy and long presentations, you can use agenda slides to mark important points in our presentation. You might do this by creating an Agenda, which you periodically return to to keep your audience aware of where you are in the presentation.
However, the process of creating agenda slides and updating it when there are changes is often long and tedious.
Agenda Lab allows you to automatically generate agenda slides for your presentation. You can also easily customize the agenda and synchronize its format throughout the presentation in the click of a button. The following video demonstrates how Agenda Lab works.
Currently, there are three types of agenda that PowerPointLabs supports:
The Text Agenda, Visual Agenda, and Sidebar Agenda, which we will describe below.
Text Agenda [Sample]
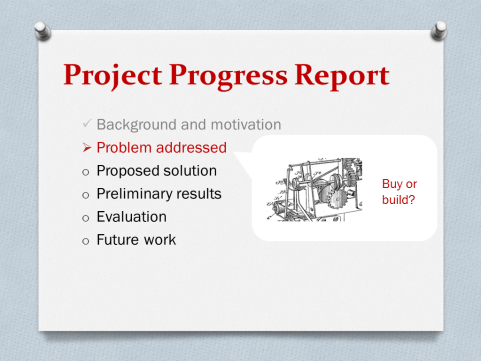
A text agenda lists the topics of your presentation using bullet points. The current section of your presentation is highlighted in the text agenda slides.

Visual Agenda [Sample]
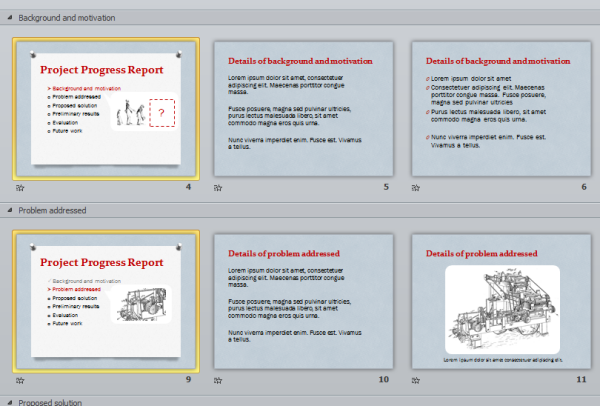
A visual agenda is a visual road map of the presentation rather than a list of textual agenda items.
Sidebar Agenda [Sample]
Instead of displaying the agenda in between topics, we can display the agenda on the slides themselves. A sidebar is placed at the top of the each slide, which displays the topics which comprise the presentation, with the current section highlighted.
Usage
The Agenda Lab identifies topics in your presentation using the sections you have defined in your presentation. Thus, to use the Agenda Lab, you have to first divide your presentation into sections.
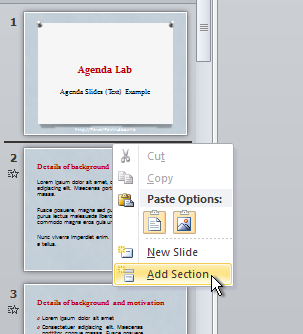
To add a section, right-click on a point between two slides and select Add Section.
Name the section according to how you would like it displayed in your agenda.
The first section in your presentation serves as an introduction, and thus is not included in the agenda.
For more information on sections, you can refer to here.
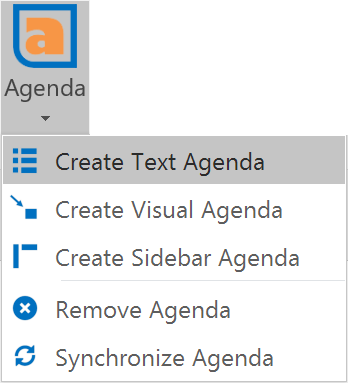
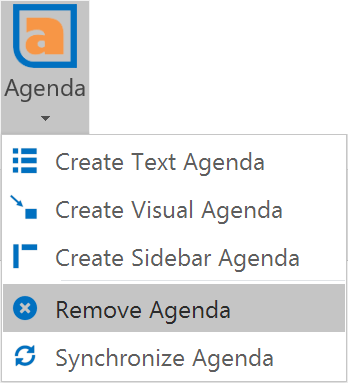
To generate the agenda slides using Agenda Lab, click on its button on the ribbon and choose the type of agenda you want to generate.
More details about each agenda type are given in the following sections.
Text Agenda
Click Create Text Agenda from the Agenda dropdown menu to generate a text agenda.
PowerPointLabs will then automatically insert agenda slides into your presentation. PowerPointLabs will also add an additional hidden slide, the Template Slide, at the front of your presentation.
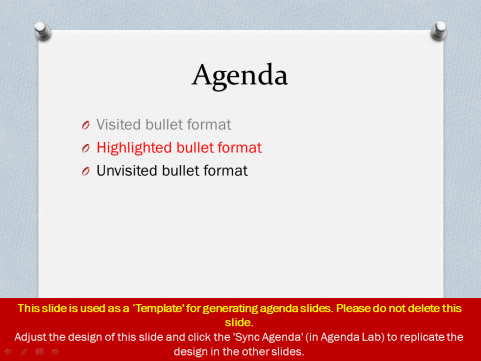
If the initially generated text agenda format is not to your liking, you can configure the format of the generated agenda using the template slide.
As seen in the template slide, there are three types of bullet styles for you to modify - Unvisited, Highlighted and Visited, which correspond to the style of Unvisited, Highlighted and Visited sections in the actual agenda in your presentation.
You can also add items to or remove items from the template slide or even change the theme of the template slide. These changes will be synchronized to the agenda throughout the presentation.
In the following example, we change the header and bullet points of the template slide.

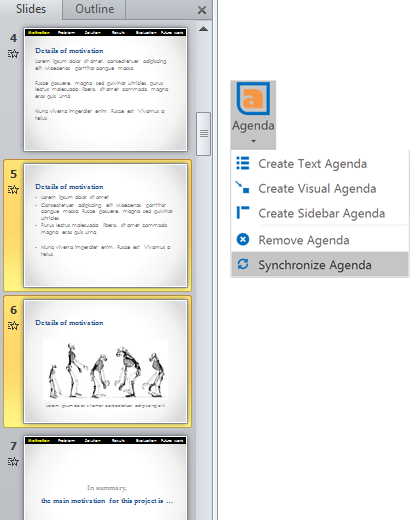
After configuring your template slide, click Synchronize Agenda from the Agenda dropdown menu to apply your changes to the rest of the agenda slides.

This causes the agenda slides in the presentation to be updated to match the template slide.

Synchronize Agenda can also be used if you have modified the sections in your presentation and would like the sections to be updated in the agenda.
Visual Agenda
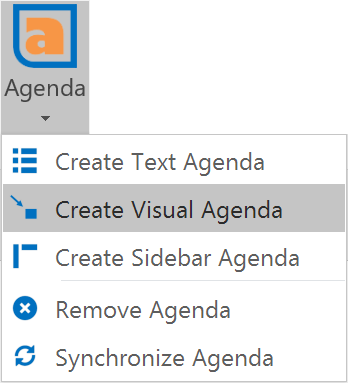
To generate the visual agenda, click Create Visual Agenda under from the Agenda dropdown menu.
The visual agenda uses snapshots of the slides in your presentation to generate a visual overview of your presentation. The Visual Agenda transitions between sections using zoom animations.
Similar to the text agenda, a template slide will be generated, which can be used to configure the format of the visual agenda. By default, the images are laid out in a grid. You can rearrange and resize the images as you like. You can also change the theme of the template slide.
In the following example, we reposition the images and add additional shapes to the slide.

In the Visual Agenda, the displayed images are taken from the first slide of each section. After the section has passed, the displayed image is the final slide of the section. Thus, you can customize the displayed image for a section by inserting an additional slide at the front and/or back of your section.
As before, click Synchronize Agenda to synchronize the visual agenda throughout the presentation to follow the format of the template slide.
Sidebar Agenda
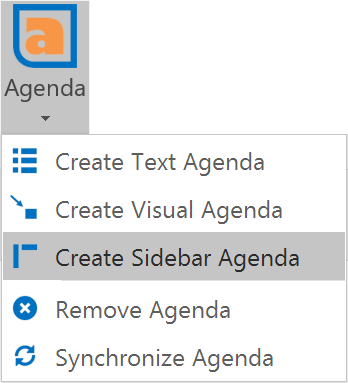
To generate the agenda, click on Create Sidebar Agenda under the Agenda dropdown menu. By default, the agenda is generated on all slides other than the first section.
Alternatively, we can generate the sidebar on only specific slides. To do this, we select the slides we want individually before clicking the Agenda Sidebar button.
Note that other than the template slide, the sidebar agenda generates no additional slides.
As before, you can add items to or remove items from the template slide or even change the theme of the template slide. These changes will be synchronized to the agenda throughout the presentation.
You can also modify the sidebar on the template slide and click Synchronize Agenda as before to synchronize the sidebar format throughout the presentation. The format of each individual text box in the sidebar can be modified separately.
Note that you have to keep the shapes in the sidebar grouped.
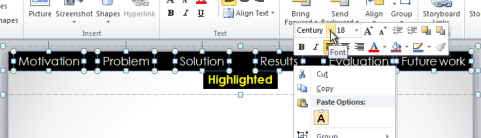
Notice that in the sidebar agenda, the current section being displayed in the presentation is highlighted. To configure the format of the text highlighting, edit the format of the text box containing the words "Highlighted" in the template slide. Note that moving this text box around does not affect the agenda.

Editing and Rearranging Sections
Even after the agenda has been generated, you can still make changes to the arrangement of the sections. After adding, removing, renaming or rearranging the sections in the presentation, simply click Synchronize Agenda again and the agenda will update itself to the new section arrangement.
Removing and Regenerating Agendas
To remove all traces of an existing agenda, click Remove Agenda in the Agenda dropdown menu. Removing the agenda will not affect your other slides.
Generating another agenda on top of an existing agenda will remove the previous agenda before generating the new agenda, even if the new agenda is of the same type as the previous. Regenerate the agenda if you wish to reset the format of the generated agenda.
Advanced Tips
Customizing Individual Slides Further
In addition to modifying the template slide and synchronizing changes throughout the agenda, you can also customize individual slides in the presentation.
Recall that when you make a change to the template slide and synchronize the agenda, all changes to the template slide are passed down to the agenda slides throughout the presentation.
However, if you add additional shapes or transitions to the individual slides and not the to template slide, they will be preserved even after synchronization. This allows you to further customize the individual slides of the agenda, like shown below:
Replacing a Template Slide
If you have an existing generated agenda from another presentation, you can copy over the template slide from the other presentation into the current presentation. Place the new template slide as the first slide of the presentation, delete the previous template slide, and press Synchronize Agenda to use the new template slide in your agenda.
Note that the theme of the new template slide introduced would also be synced across the current presentation's agenda slides.
For this to work, the agenda types for both presentations must be the same.
Resetting the Visual Agenda image layout
When the Visual Agenda is initially generated, the images corresponding to each section are laid out in a grid, which can then be rearranged to your liking.
However, if you wish to reset the layout of the images, a simple trick is to delete the images corresponding to each section in the template slide and clicking Synchronize Agenda. This causes the images to be regenerated in a grid layout.
A similar effect can be achieved by regenerating the Visual Agenda. However, this causes the agenda to lose all of your other previous formatting as well.
Adding and Removing the Sidebar Agenda from individual slides
The Sidebar Agenda is slightly different from the other two agendas in a way - instead of generating it for the whole presentation, you can also select individual slides and generate the sidebar on them.
Agenda Lab also offers a way to add the sidebar agenda to slides you had missed out on before without regenerating the entire agenda. To do this, select the slides you wish to add the sidebar to and click Synchronize Agenda. If the selected slides do not already have the sidebar, the sidebar will be added to those slides. After which, the rest of the agenda will also be synchronized.
If you want to remove the sidebar from specific slides, simply delete the sidebar object manually from the slide.