Narrations Lab creates synthesized audio from your speaker notes, and embeds it on each slide. It's great for figuring out exactly what your speech will sound like, or creating pre-packaged presentations that can play automatically. If you'd like, you can go one step further and easily record your own replacements for the generated audio. In the following video, the audio narration was created by Narrations Lab.
Synthesizing Audio
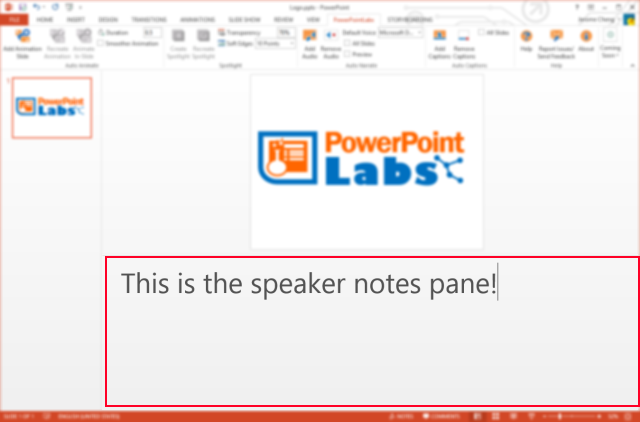
Narrations Lab uses the text entered in the Speaker Notes pane below each slide to generate audio:
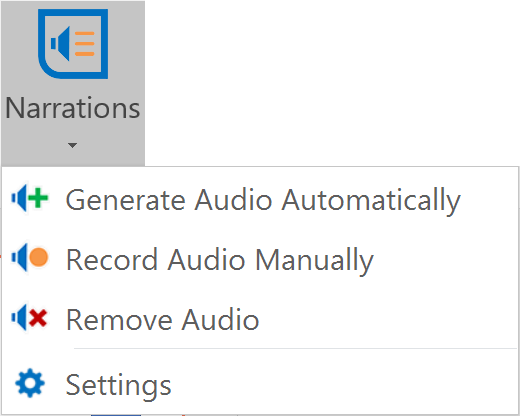
Simply type what you'd like to say for the slide in the Speaker Notes, then click the Add Audio button. You can remove audio easily by clicking Remove Audio.
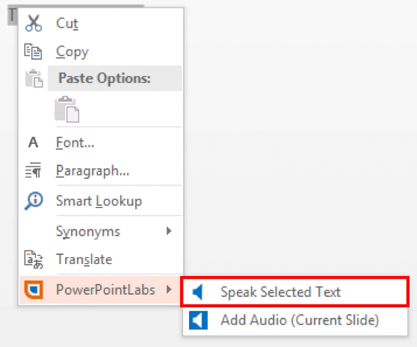
To hear what a particular sentence or phrase will sound like without having to add audio for the entire slide, simply select it in the Speaker Notes pane, right-click, and choose Speak Selected Text.
Note: if you make changes to your speech, it isn't necessary to remove any audio that's already been embedded; PowerPointLabs will automatically take care of it when you click
Add Audioagain.
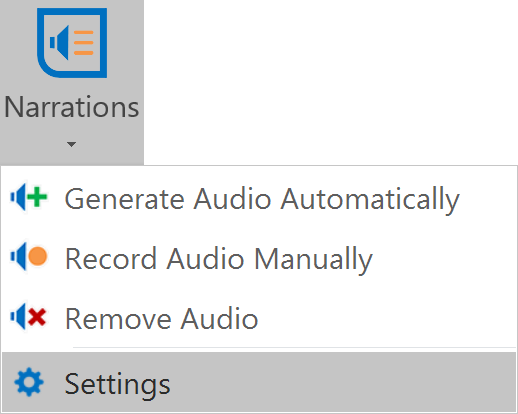
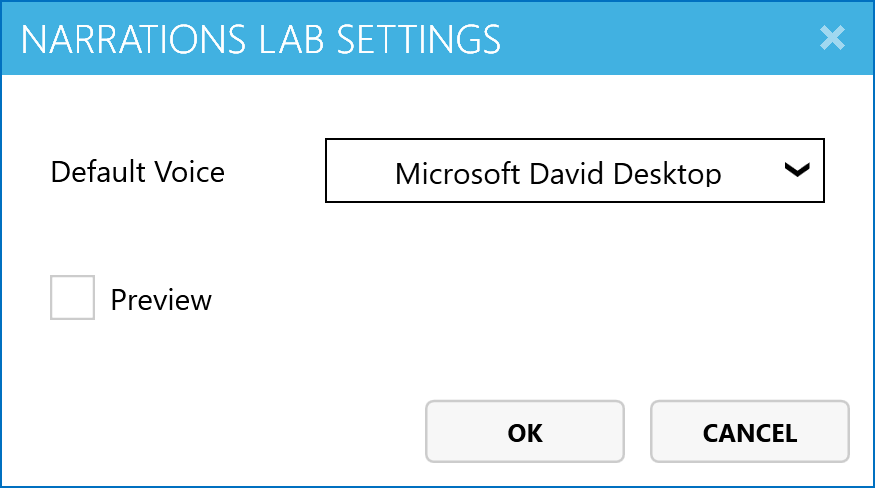
The settings dialog allows you to change the default voice used for narration, or to preview audio after it is added:
Older versions of PowerPointLabs offered an "All Slides" checkbox in the settings dialog. Starting with version 1.7, PowerPointLabs will add or remove audio from the slides selected in the lefthand slide selection pane.
To add or remove audio from all slides at once, simply click in the slide selection pane, press
ctrl-ato select all slides, then click theAdd AudioorRemove Audiobutton. You can also select individual slides byctrl-clicking on them.
Tags
For more fine-grained control over the generated audio, you can use a variety of tags to specify aspects such as speed, pronunciation, and even the type of voice to use.
Tags come in two types: paired and unpaired.
Paired Tags
A paired set of tags encloses a particular word or phrase, and is used to inform PowerPointLabs how to vocalise that particular section of text.
Speed
Speed tags are used to specify the pace at which the text they enclose should be read.
Syntax:
[Speed: <fast/medium/slow/extra fast/extra slow>]<Text to say>[EndSpeed]Example:
[Speed: slow]This point is very important.[EndSpeed]
Voice
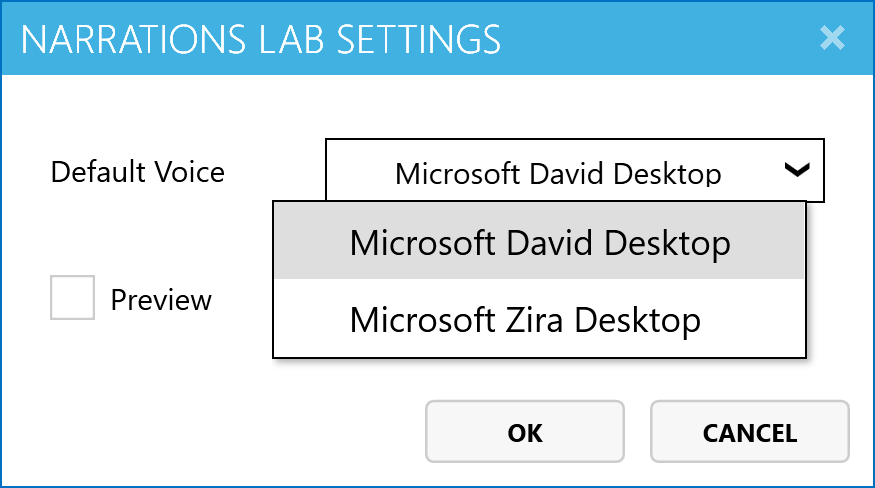
Voice tags can be used to change the synthesized voice for a particular section of text. You can see a list of all voices installed on your computer in the Default Voice dropdown:
Note: there's no need to type the entire name displayed in the dropdown; PowerPointLabs will choose the first voice that contains the portion that you enter.
The amount of voices you have installed may vary depending on Windows' language settings - installing additional languages may provide more voices. Voices may also be purchased from third-party vendors.
Syntax:
[Voice: <voice name>]<Text to say>[EndVoice]Example:
[Voice: David]Hello there![EndVoice]
Pronounce
Pronounce tags can be used to specify the way a word should be pronounced, using IPA notation. This can be useful in situations where the generated speech uses a particular pronunciation of a word which isn't correct in context.
Note: the Dictionary.com definition pages include IPA pronunciations that can be used with the Pronounce tag.
Syntax:
[Pronounce: <IPA pronunciation>]<Word to pronounce>[EndPronounce]Example: I
[Pronounce: rɛd]read[EndPronounce]that book a while ago.
Unpaired Tags
An unpaired tag is used to specify information that doesn't relate to a particular word or phrase.
Pause
As its name implies, the Pause tag can be used to specify a pause in the narration. This is useful for creating short breaks between sentences or ideas.
Syntax:
[Pause: <duration in seconds>]Example: That's an important point.
[Pause: 3]Let's move on to discuss...
AfterClick
The AfterClick tag is used to set portions of narration to be triggered only after the slide is clicked.
Note: this tag is especially useful if you have existing animations on the slide which are triggered by clicks. PowerPointLabs will set narration to play after all animations triggered by the corresponding click have completed.
Syntax:
[AfterClick]
Recording Your Own Audio
PowerPointLabs also makes it easy to record your own audio narration, whether you're replacing synthesized narration or starting from scratch.
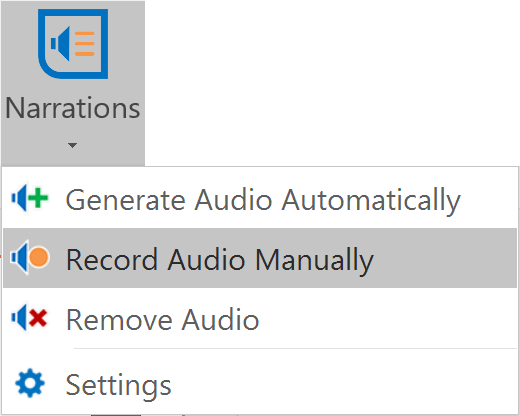
To bring up the recording pane, click on the Add Audio menu button, then click Record Audio Manually.
Replacing Synthesized Narration
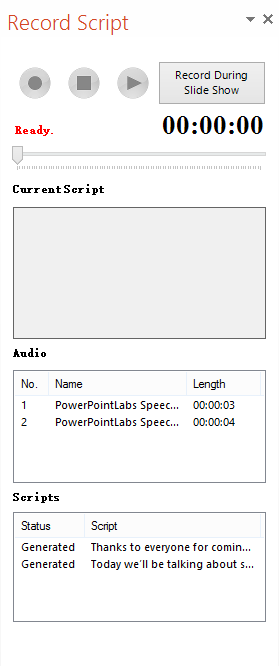
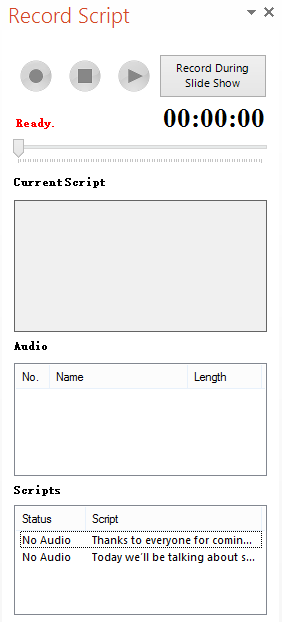
Any synthesized pieces of narration will appear in the Audio panel of the recording pane. To replace a particular section of the narration, simply select it - the corresponding section of the script (from the speaker notes) will then be shown in the Current Script field.

Simply click the record button to begin recording, then click stop once you have finished.
Tip: you can also right-click on any of the audio segments listed in the
Audiopanel to play, remove, or replace it.Double-clicking on anything within the
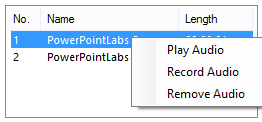
AudioorScriptspanes will also play the corresponding piece of audio if it has been generated.
Recording from a Script
Even if you haven't used Narrations Lab to create synthesized narration, you can still record your own narration easily using the same process. Simply enter your speech into the speaker notes pane as if you were going to use Auto Narrate (including AfterClick tags to separate speech for animations), then bring up the recording pane.
Each "line" to record will be displayed in the Scripts panel of the recording pane. Just select the one you'd like to record, then use the recording controls to start!
In-Show Recording
Clicking Record During Slide Show will launch the slide show, with two buttons overlaid onto each slide:

This allows you to record narration for the slide or presentation in sequence, viewing animations and transitions in the process. Think of the presentation as being made of many segments, each separated by an animation or transition triggered by a mouse click; you can record narration for each of these segments.
Tip: try using Narrations Lab to add captions before recording. You can then use them in the same way as a teleprompter, and remove them after you're done.
To record, just hit the Start Recording button.
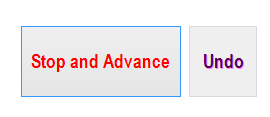
When you're done, click Stop and Advance. If you want to go back and try again, just click Undo afterwards.