You can add animated timers onto your slide show using Timer Lab, like this example below.
Tip: You can add timers onto your slides and present them using other computers which do not have PowerPointLabs.
Inserting a Timer into a Slide
First, open up the Timer Lab pane by clicking on Timer button under PowerPointLabs in the ribbon. The Timer Lab pane will open up as shown below.
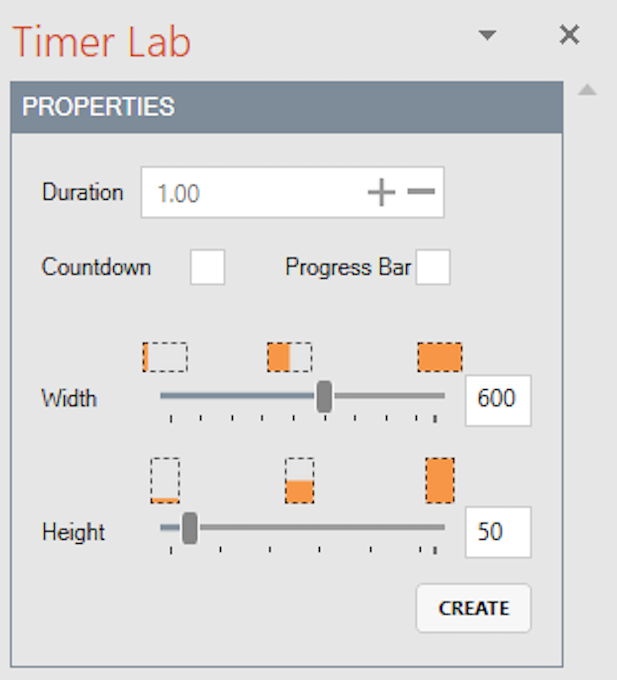
Insert the timer by clicking on the CREATE button.
You can customize the timer’s duration and size under PROPERTIES, before and after you create your timer.
Tip: Create the timer before setting its properties by clicking the
CREATEbutton, so that you can see the changes made. If you moved or deleted some parts of the timer, just click theCREATEbutton again to realign the timer.
Fine Tuning the Timer

The duration is specified in the format minutes.seconds. For example, stating 0.01 is equivalent to 1 second, and stating 1.59 is equivalent to 1 minute and 59 seconds.
The + and - buttons increases and decreases the duration by 1 second respectively.
Note: The timer has a maximum duration limit of 10 minutes.
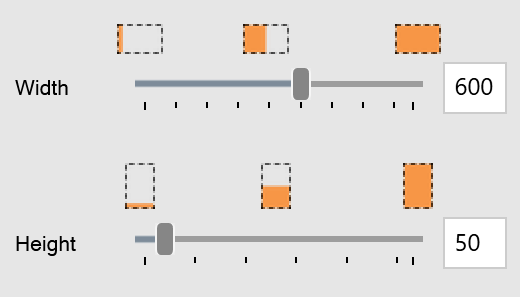
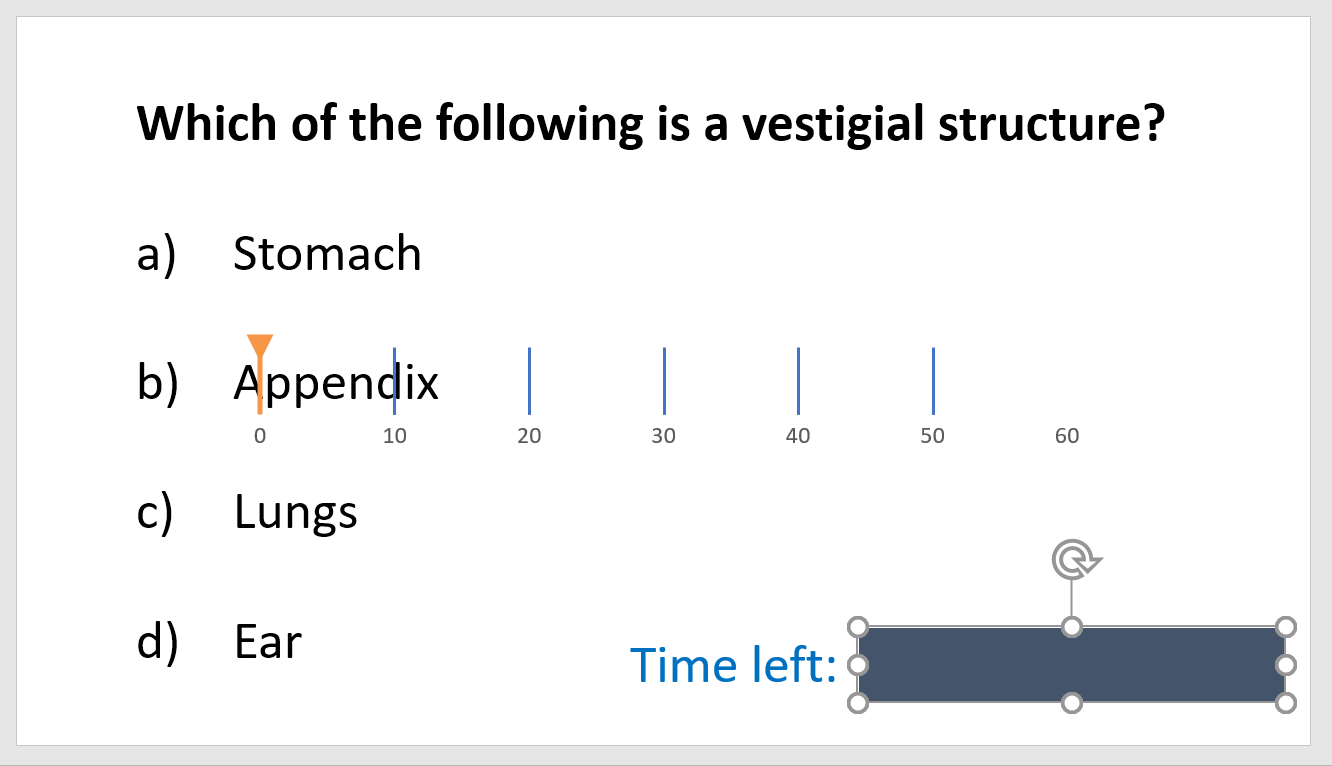
The width and height of the timer can be set by typing in the values or dragging the sliders. The changes will be immediately shown on the timer on the currently selected slide.
Tip: You can also move and resize the timer by dragging the timer body and clicking the
CREATEbutton on the Timer Lab pane.
Changing the Formatting of a Timer
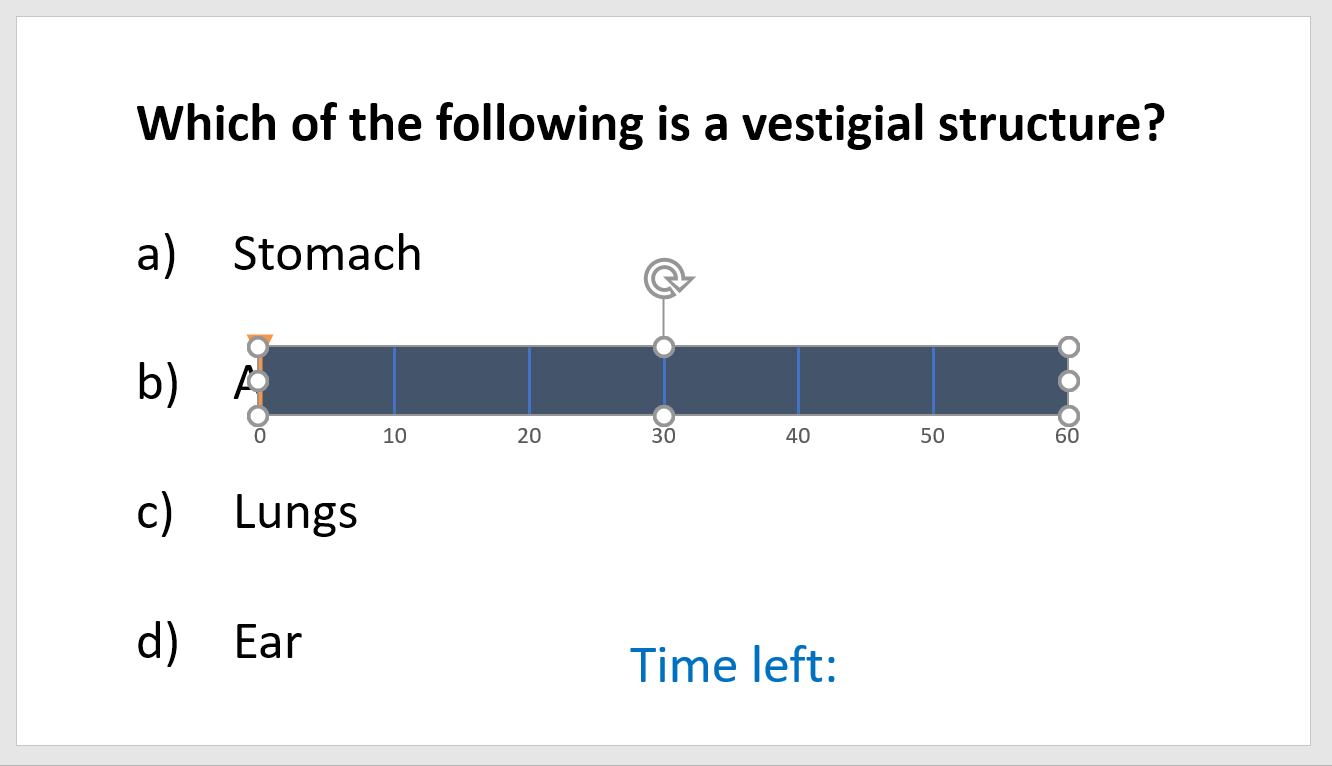
You can change the colors of the timer components using PowerPoint’s Drawing Tools.

Tip: You can reset a timer component to its default color by deleting it, and clicking the
CREATEbutton on the Timer Lab pane.

You can change the colors of the timer body and slider using Shape Fill.

You can select the entire line marker group, and change its color using Shape Outline.
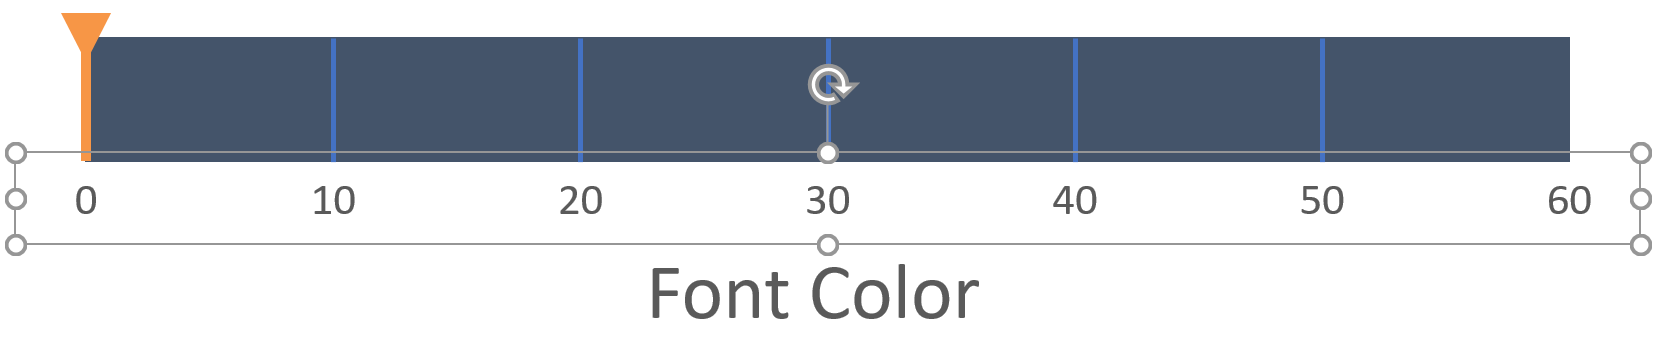
You can select the group of line marker text, and change its color using Font Color.
Using Countdown Mode
You can change the mode of the timer to Countdown mode. Simply check the Countdown mode checkbox.
The countdown timer will now be in Countdown mode
Using Progress Bar Mode
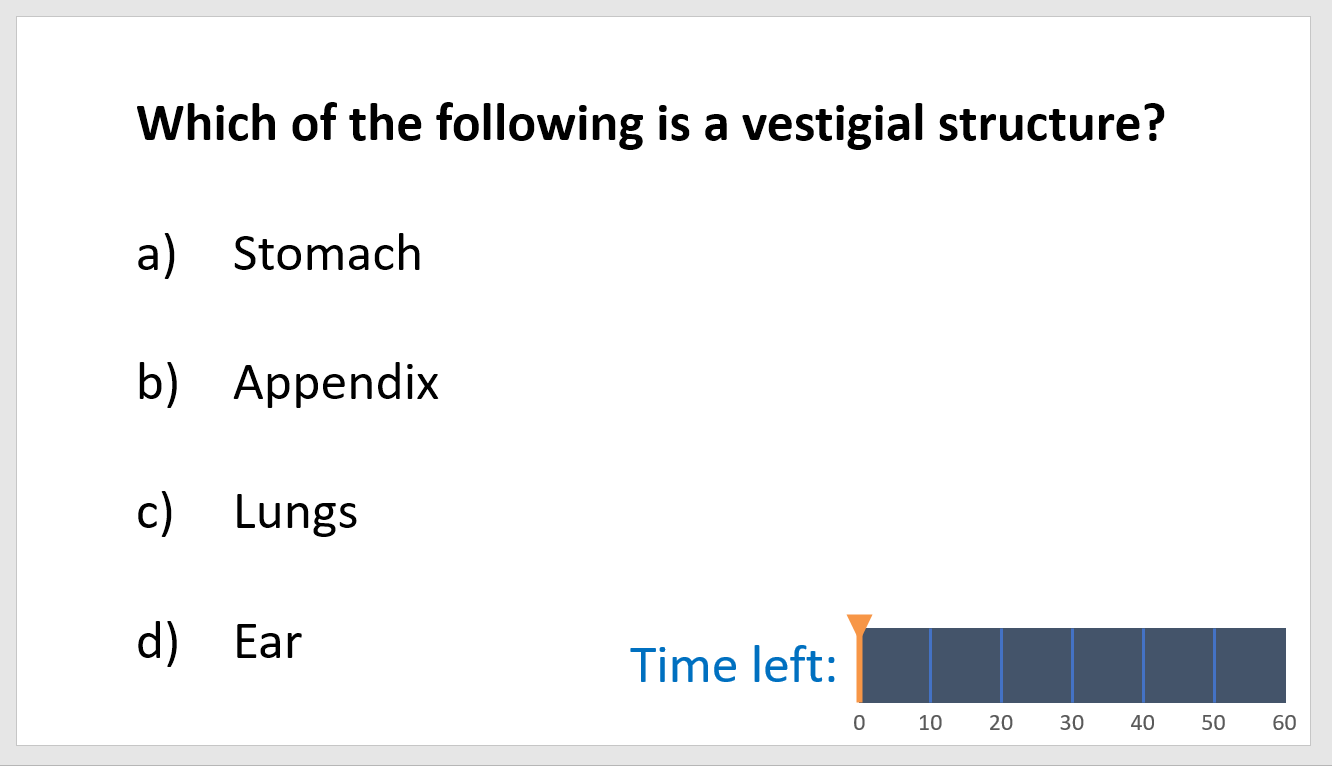
You can change the mode of the timer to Progress Bar mode. Simply check the Progress Bar mode checkbox.

The countdown timer will now be in Progress Bar mode
Timer Animations
You can add animations for other objects that starts after the timer’s duration. Here is an example:
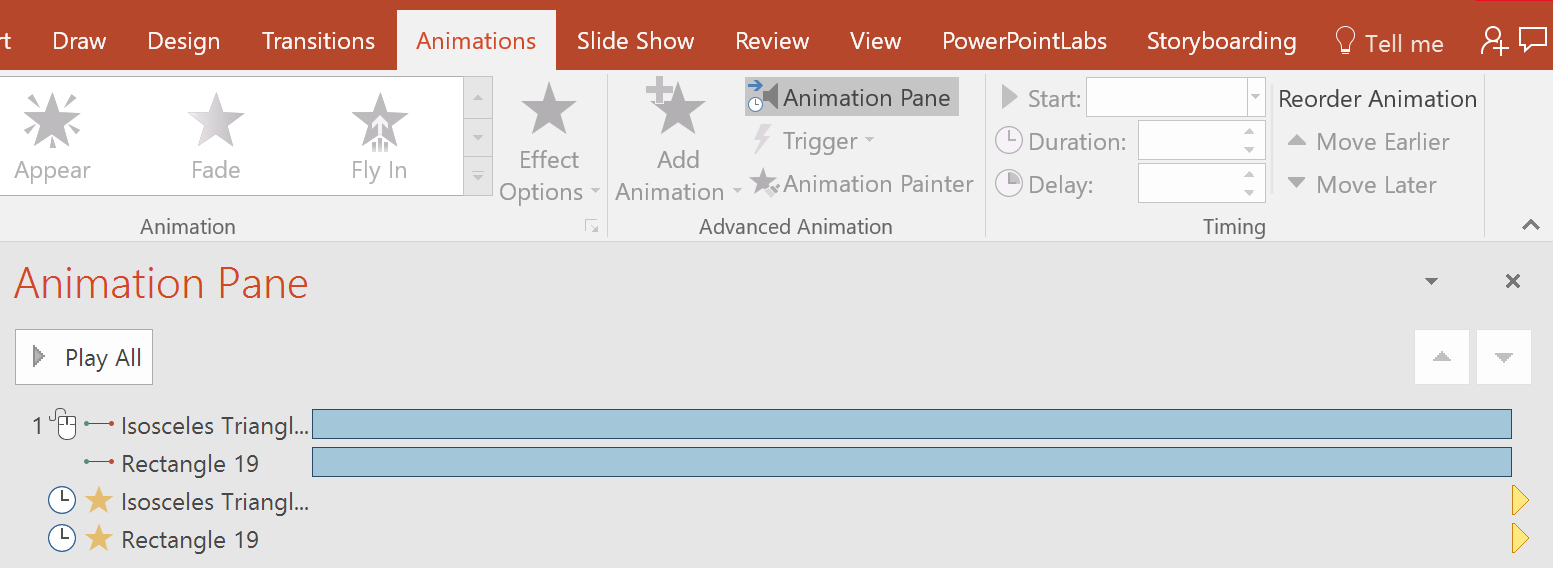
First, create your timer. You will see four animations for the timer in the Animation Pane.
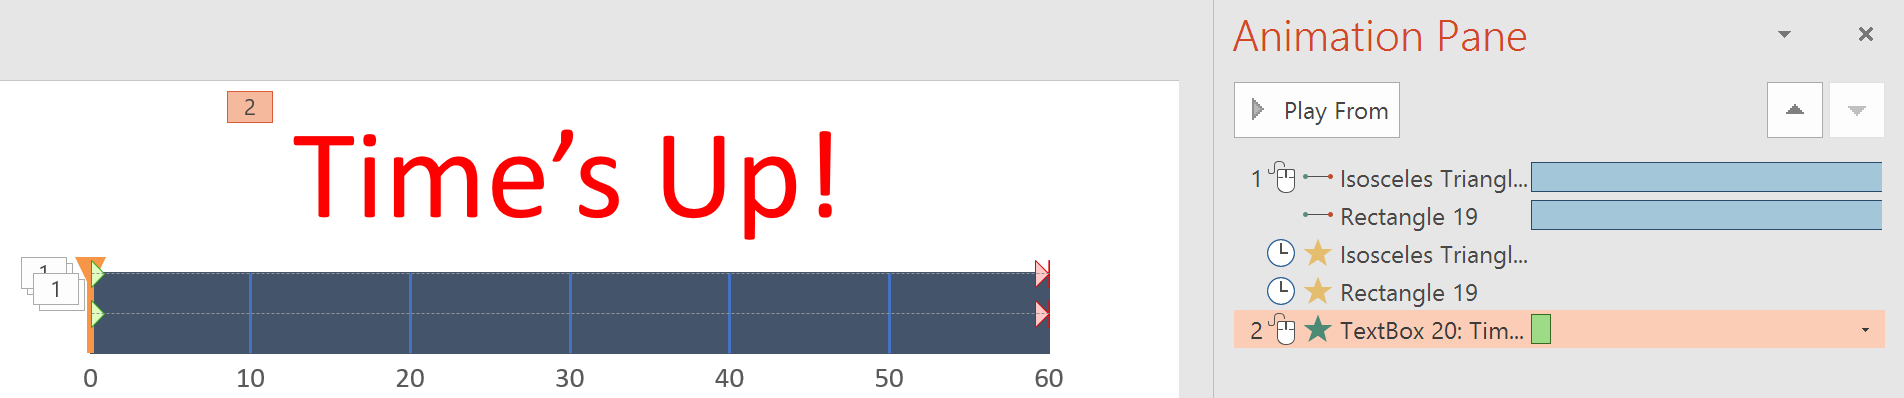
Next, create your object (e.g. a text box object containing text "Time’s Up!") and add an animation (e.g. Grow & Turn) to it. Make sure that the new animation is below the timer’s animations in the Animation Pane.
Tip: You can also add an audio and make it play at the end of the timer animations.
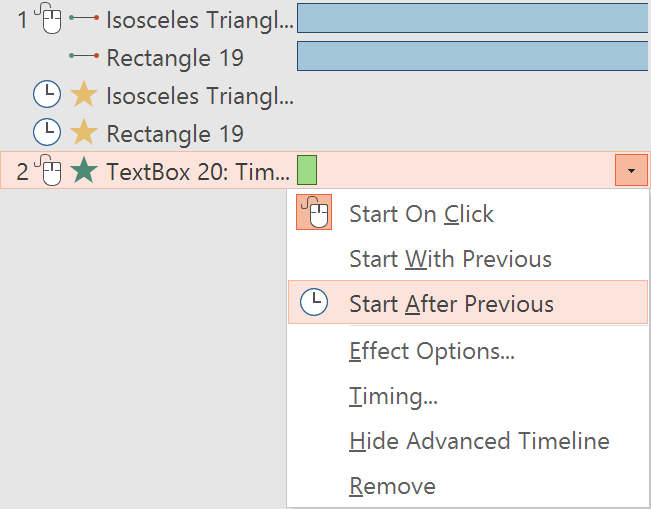
Finally, set the new animation to start automatically after the the timer animation ends.
You can now start the slide show to see it in action.