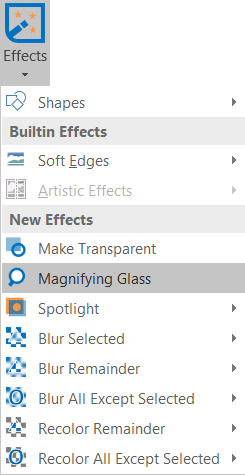
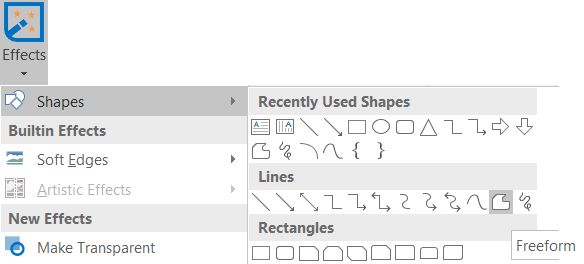
The Effects Lab makes it easy to draw attention to portions of the slide through blur, color, or magnification effects, and also provides a convenient way to access several of PowerPoint's built-in image effects.
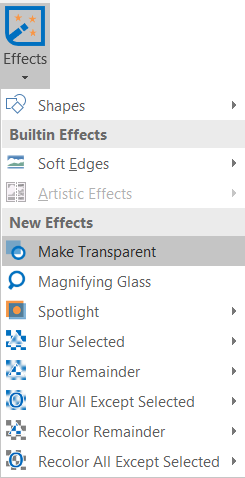
Make Transparent
As its name implies, Make Transparent turns the selected image or shape slightly transparent. This can be used to fade an image for use in the background of a slide - something which can't ordinarily be easily done in PowerPoint itself - or to use a shape as an overlay to draw attention to a part of the slide.
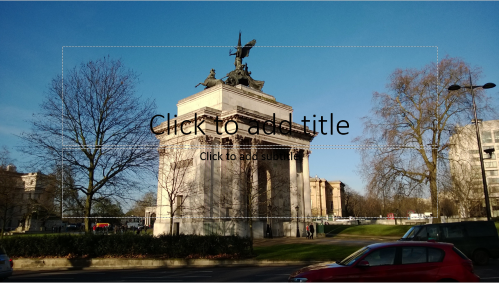
For example, we'd like to use this image as the background for the title slide; as is, though, there isn't enough contrast between it and the title.
To turn an image or shape transparent, select it, then click Make Transparent from the Effects dropdown menu.
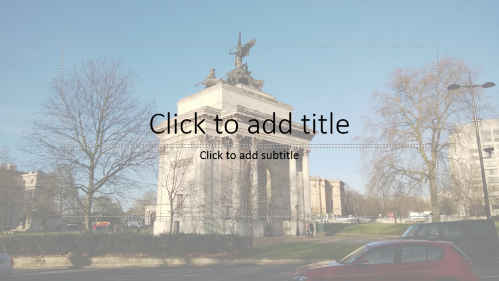
This turns the image slightly transparent, increasing the contrast between it and the slide's text.
Note: the transparency of the image or shape can be adjusted afterwards by right-clicking the image/shape and selecting
Format Shape.
Magnifying Glass
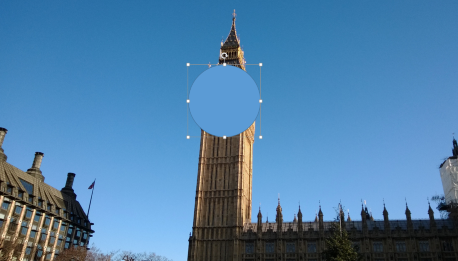
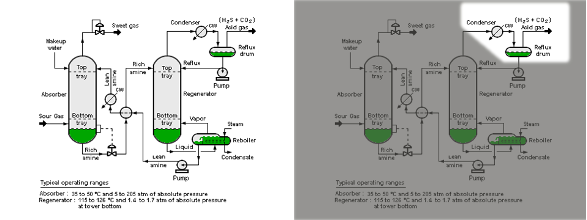
The Magnifying Glass effect can be used to enlarge a small detail on the slide. To use it, first draw a shape over the area to be magnified.
Note: though the example shown here uses a circle, any type of shape can be used as the magnifier.
Select the shape, then click Magnifying Glass from the Effects dropdown menu.
This magnifies the area covered by the shape:

Spotlight
Spotlight darkens all but a specified region on the slide, allowing you to easily focus your audience's attention on a particular aspect.
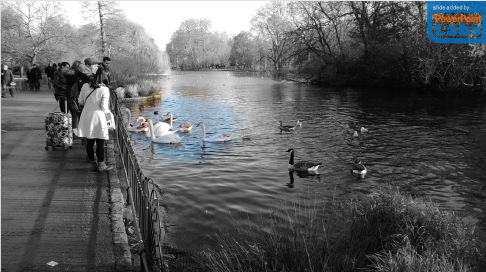
(Original Image Credit: Wikipedia)
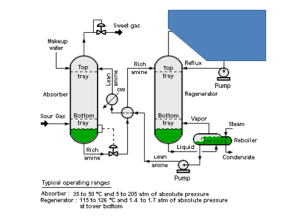
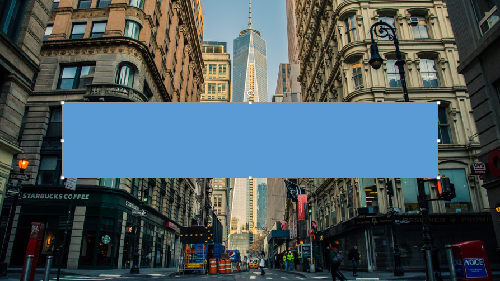
Using Spotlight is easy. First, draw a shape to indicate the area which should be lit up - you can use any of PowerPoint's included shapes, or even draw a freeform shape.
To produce the example shown above, we drew a shape like so:
With the shape selected (by clicking once on it), go to the PowerPointLabs tab on the Office Ribbon and click Create Spotlight.
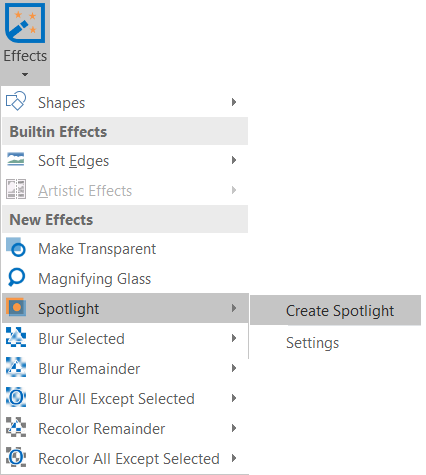
And that's it! PowerPointLabs will create a new slide with the spotlight effect on it.
If you'd like, you can adjust the transparency of the darkened area and the softness of the spotlight's edges from the same tab. Just click the options button here:
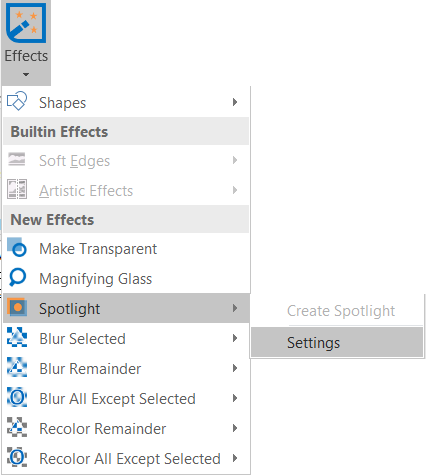
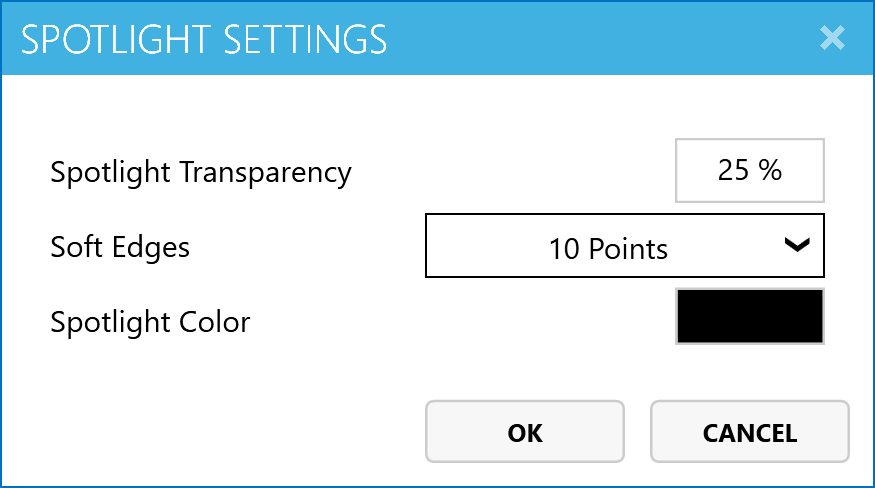
If you're not quite happy with the way things turned out, simply adjust the settings from the dialog (shown above), delete the slide with the spotlight effect, and click Create Spotlight again.
You can download the slides used in this example here.
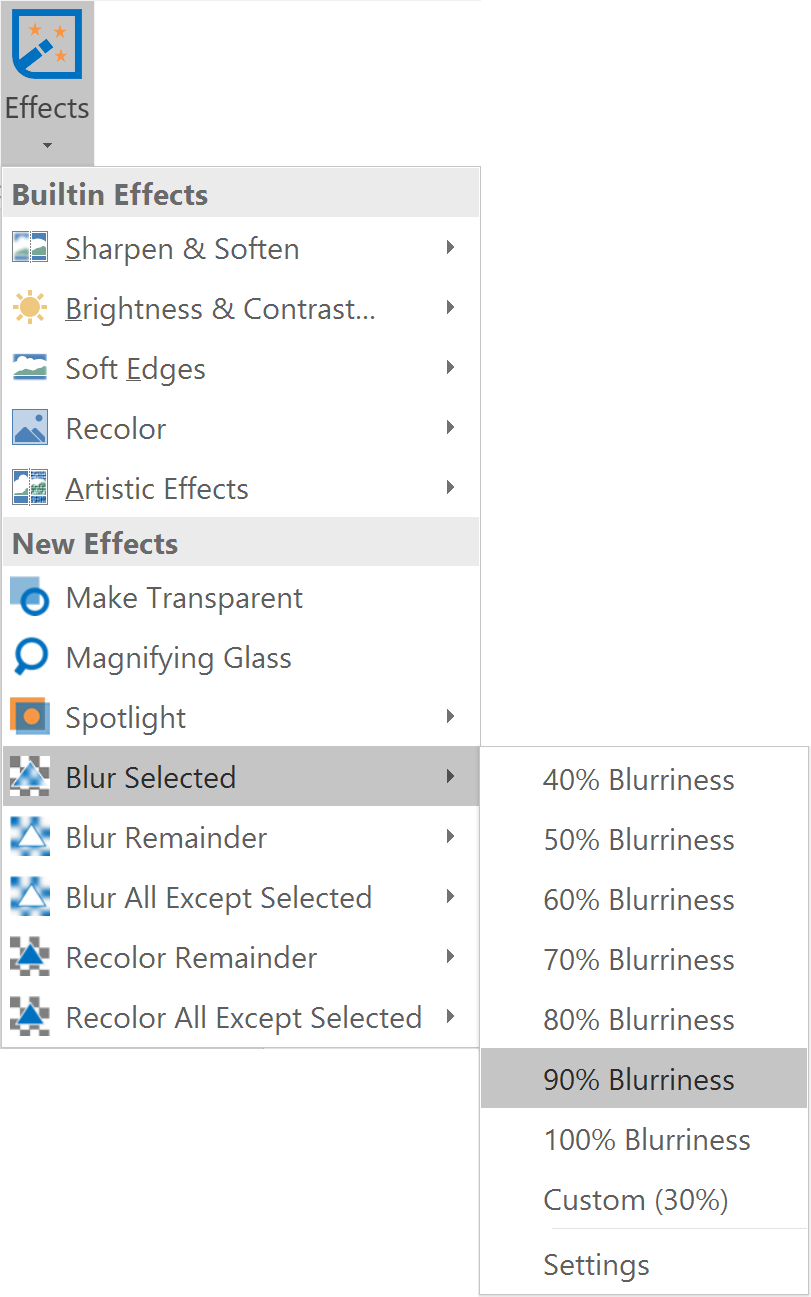
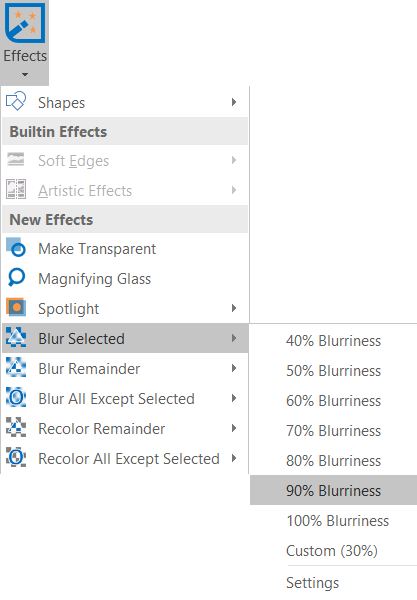
Blur Selected
Blur Selected can be used to create a frosted glass effect by adding a blur effect to the selected area.
To use it, first draw a shape over the area to be blurred.
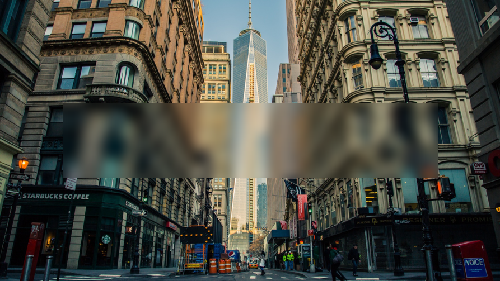
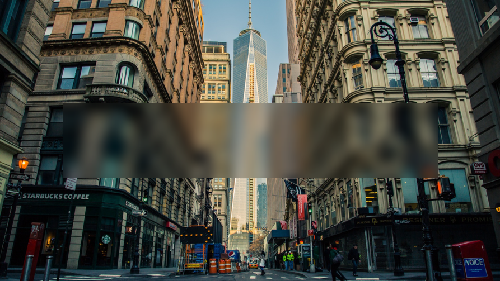
Select the shape, then select Blur Selected from the Effects dropdown menu and choose the blurriness level to use - in our example here, we chose 90% Blurriness.
This blurs the area covered by the shape:
Note: Blur Selected can also be used on text boxes.
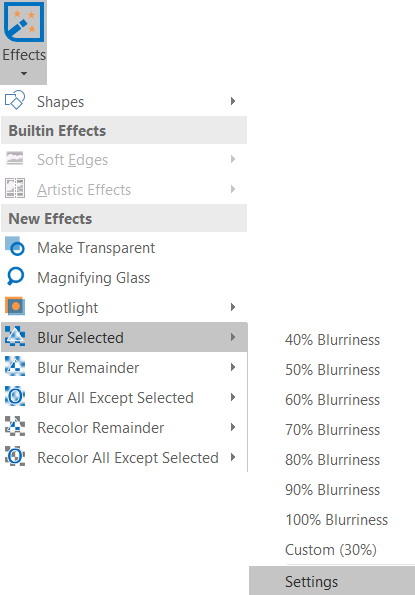
Blur Settings
If you want to use a different blurriness level from the default variations, you can select Settings under the desired Blur feature in the Effects dropdown menu.
In the dialog box, enter your desired blurriness level between 1% and 100%. You can also choose to check the Tint Selected option.
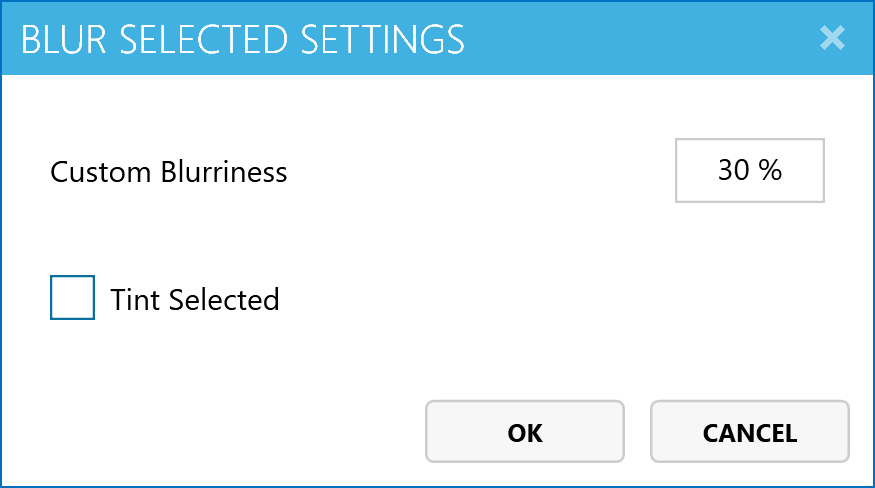
Custom Blurriness
You can customize the blurriness by changing the value of the "Custom Blurriness" textbox. Once you click OK, the custom blurriness you specified will be on the Effects dropdown menu with the text "Custom (30%)". Where "30%" is the custom blurriness you specified.
Tint Selected
Blur features can create a tinted effect when applying the blur effect. When this option is checked, the respective feature will insert an overlay shape over the blurred shape.
To check this option, select your desired Blur feature from the Effects dropdown menu and select the Tint option - in our example here, we checked Tint Selected for Blur Selected feature.
Tip: To adjust the tint color and transparency, right-click on the overlay shape and select
Format Shape.Tip: To adjust the tint color and transparency, right-click on the overlay shape and select
Format Shape.
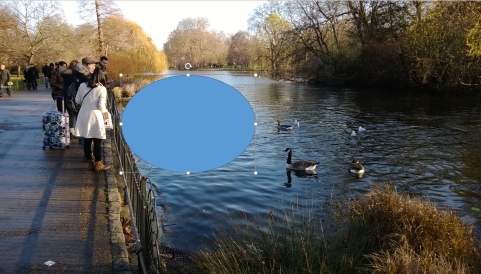
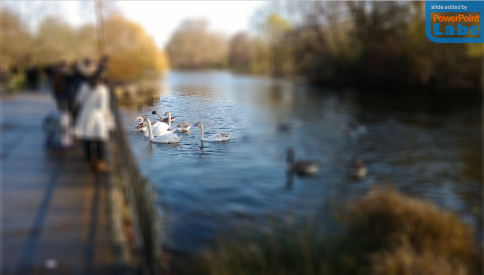
Blur Remainder
Blur Remainder is best used to draw attention to a particular part of the slide by adding a blur effect to the surrounding areas - similar to adjusting the focus on a camera.
To use it, first draw a shape over the area to be kept in focus.
Select the shape, then select Blur Remainder from the Effects dropdown menu and choose the blurriness level to use - in our example here, we chose 70% Blurriness.
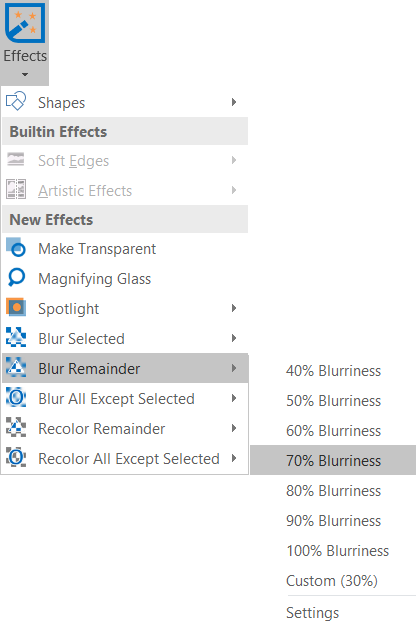
PowerPointLabs will then insert a new slide containing the blur effect.
Recolor Remainder
Recolor Remainder works in a similar manner to Blur Remainder, but instead changes the color of the surrounding areas while leaving the focused area unchanged.
First draw a shape over the area which should be left unchanged.
Next, select the shape, select Recolor Remainder from the Effects dropdown menu, then choose the scheme to use - in our example here, we chose Gray Scale.

PowerPointLabs will insert a new slide, with the surrounding areas recolored.
Blur / Recolor All Except Selected
If you want to draw attention to an individual shapes instead of a section of a slide, you can use Blur All Except Selected or Recolor All Except Selected instead.
Suppose that your wish to draw attention to the text box in this slide:

After selecting the text box, select Blur All Except Selected from the Effects dropdown menu and choose the blurriness level to use - in our example here, we chose 90% Blurriness.

Notice that everything in the slide will be blurred except for the selected shapes.

The procedure and effect are similar for Recolor All Except Selected.